Plugins
Using plugins
You can extend the capabilities of Source’ by adding new component models or data processing tools. Some of these "plugin" tools extend Source’s user interface, or add additional steps to the Geographic Wizard. Other plugins, especially those written by third parties, may look and operate differently from the normal user interface.
When installing plugins in Source, you must have administrator access on your computer. Plugins that are installed as part of Source are located in the plugins folder:
C:\Program Files\eWater\Source\PluginsThey are files which have a .DLL or .EXE extension, and work with specific versions of Source. Plugins that are external to Source, and must be downloaded from the Internet must be handled differently. Refer below, to Externally created plugins, for more information.
Many of the existing eWater CRC Toolkit tools (or components of these tools) can be used as Source plugins; however, you must ensure that the plugin version is compatible with the Source version. In other words, the plugin .dll files have been compiled against the Source version that the plugin is to be used with. It is good practice to copy external or third party plugins to the corresponding plugins folder prior to loading the plugin into Source.
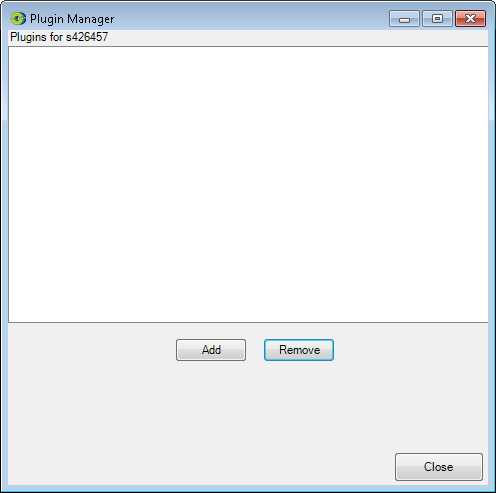
To load a new plugin:
- Choose to open the Plugin manager (Figure 1);
- Click Add and in the plugins folder (usually C:\Program Files\eWater\Source version\Plugins), select the plugin and click Open; and
- Click Close.
Figure 1. Plugin manager
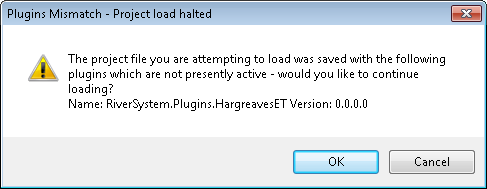
Note that if a plugin is required to run the project, but not loaded, an error appears asking if you want to keep loading the project without loading the plugin first. If the plugin is important to the project, Source might have problems running. The error tells you the name of the plugin that was used. An example of this is shown in Figure 2, indicating that the HargreavesET plugin is missing.
Figure 2. Error without installed plugin
There are several plugins included with Source that have been verified by the Source development team. This documentation is only developed and maintained for these included plugins.
Writing your own plugins
Refer to /wiki/spaces/SC/pages/51643422 for details on writing your own plugin.
When you install Source, instructions for writing your own plugins are included along with a series of templates to help you get started. Under Windows XP, the standard location is:
C:\Program Files\Source n.n.n.n\Plugins\ExamplePlugins.zip
Under Windows 7, the standard location is:
C:\Program Files\eWater\Source n.n.n.n\Plugins\ExamplePlugins.zip
where n.n.n.n is the version number of Source. If you boot Windows from a different hard disk drive or have otherwise customised your installation, you should make the necessary adjustments.
Please consult your system administrator if local security policies prevent you from accessing this package.
Externally created plugins
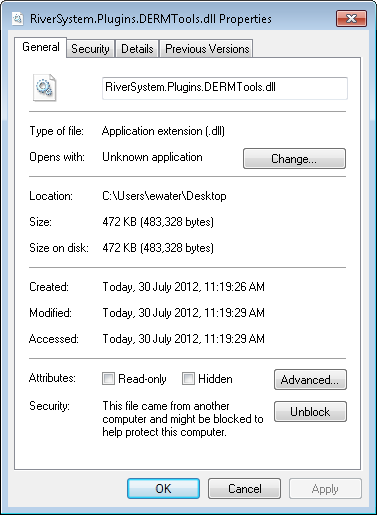
For plugins that have been developed externally to Source (such as DERMTools), you must manually unblock them in Windows after downloading. By default, Windows blocks the execution of programs downloaded from the internet (including the .dlls used as Source plugins) in order to reduce the risk of the computer being infected by a virus or some other form of malicious software.
- Right click on the dll file in Explorer and choose Properties (Figure 3);
- At the bottom of this window will be comment along the lines of ‘this file has been downloaded from the internet and has been blocked to protect this computer’. Click Unblock at the bottom of the screen, then OK;
- The plugin can then be loaded as normal in Source.
Figure 3. Unblocking external plugins