Note: This is documentation for version 5.0 of Source. For a different version of Source, select the relevant space by using the Spaces menu in the toolbar above
Download and Installation
Source Versions
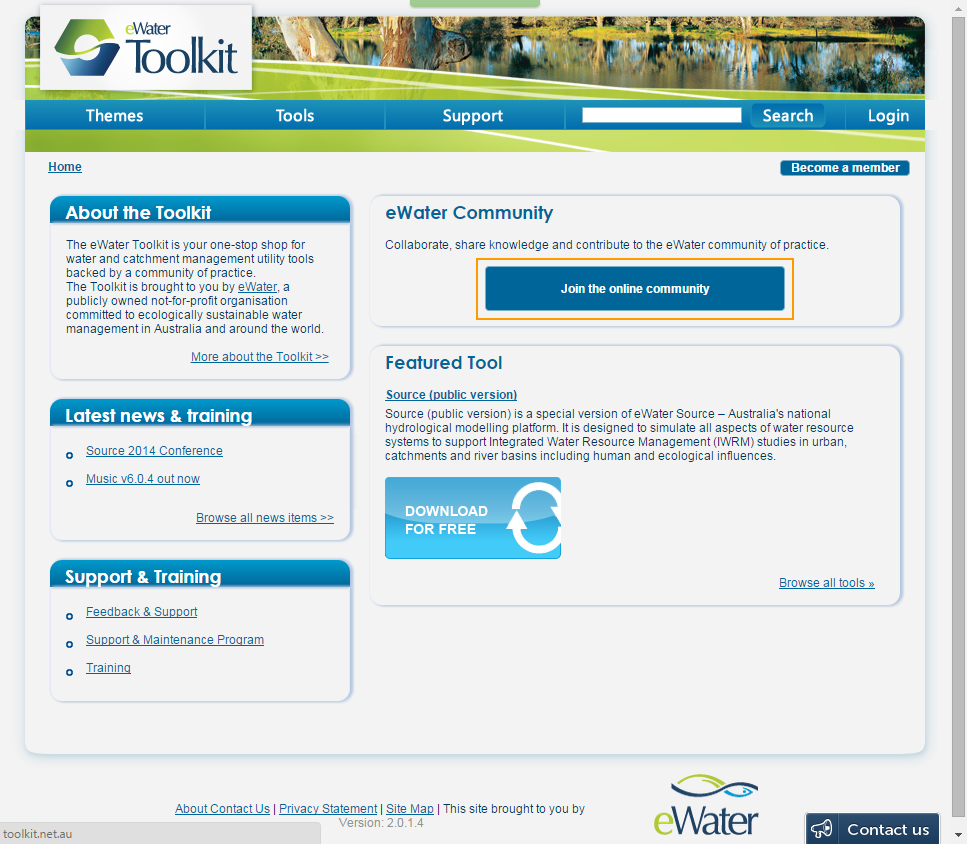
There are several versions of the Source software, all of which are available via the eWater Toolkit at toolkit.net.au. Source (public version) is freely available as soon as a free Toolkit account is created. Other versions, such as the betas or the Source version with full water sharing functionality, is restricted under certain licensing conditions.
System Requirements
Outlined below are the minimum recommended system requirements for installing Source. Note that software installation may require the assistance of a system administrator.
| Minimum recommended requirements |
|---|
|
| Screen / Resolution |
|
Up to 5GB of available space may be required, and maintaining a free hard disk space of at least 20GB is recommended.
For large models, 32GB of RAM is recommended, and a minimum of four cores. For parallelisable models, the more cores the better. Run time is often tied to CPU, so the faster the CPU, the faster the runtimes.
If using Insight, you will also need the Microsoft Visual C++ 2010 Redistributable Package, 32-bit version (for both 32 and 64-bit machines): available here.
Download and installation
Downloading and installing the Source software is a relatively simple process.
- Visit eWater Toolkit at http://toolkit.net.au
- Create a Toolkit account and verify it using the generated email

- Log in to Toolkit
- Click on Tools. The tools you have access to, including eWater Source (public version)
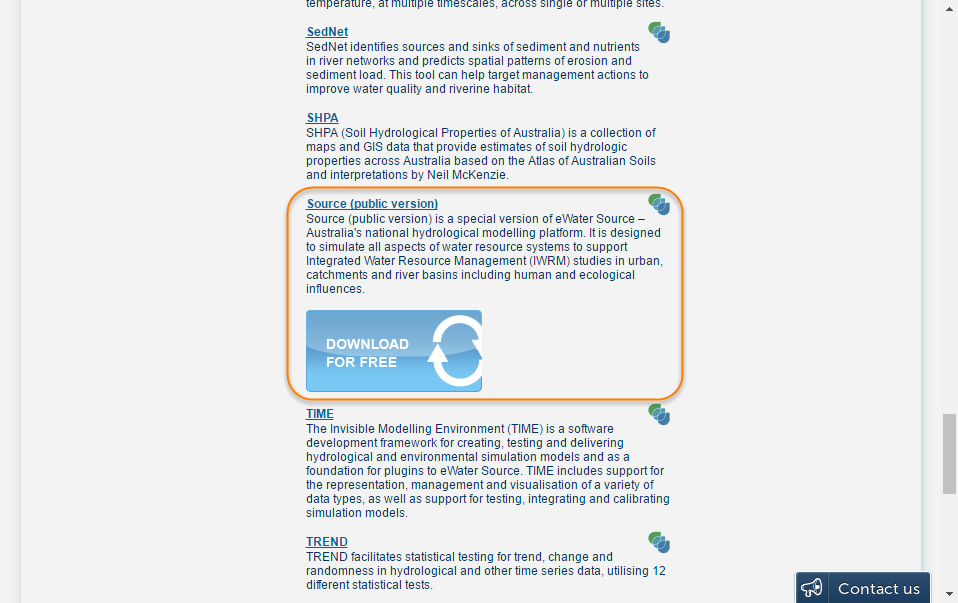
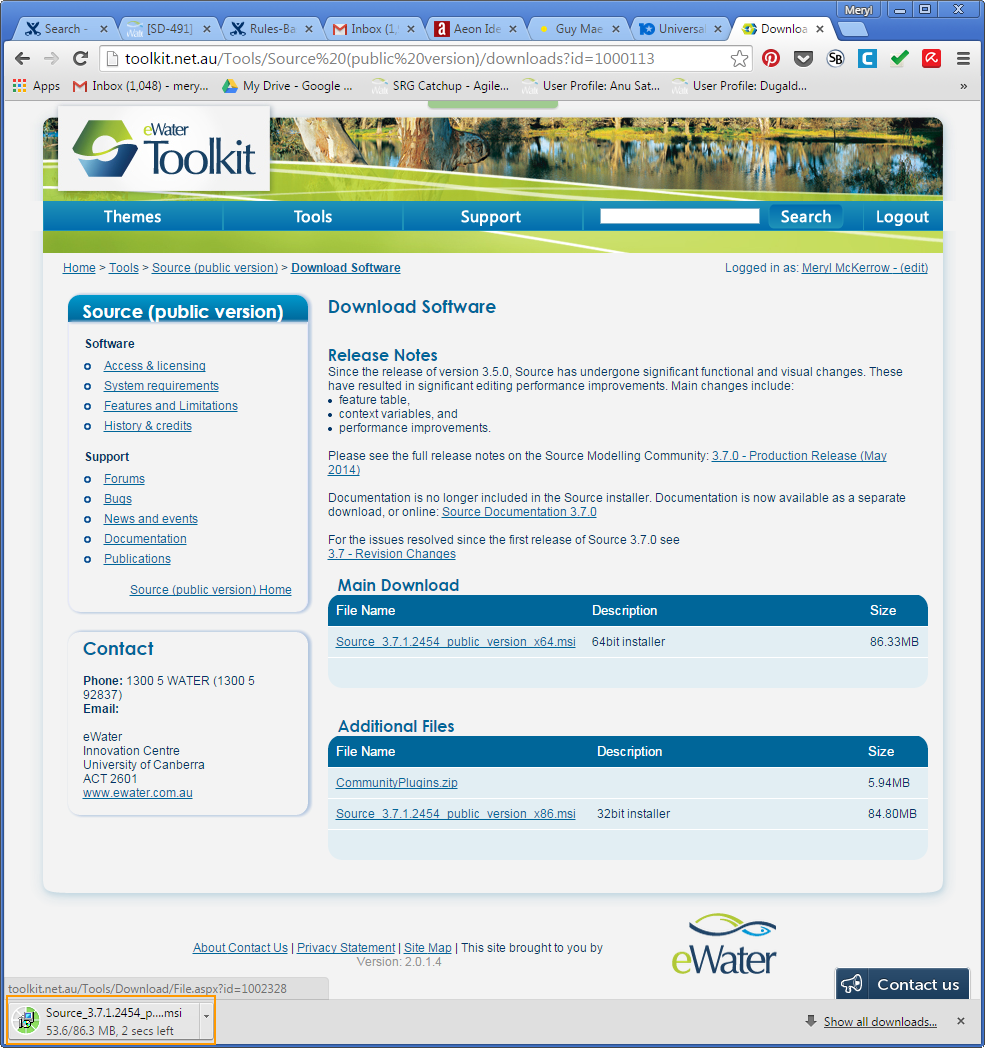
- Select Source (public version), or any other Source version you require and have access to. Click download software.

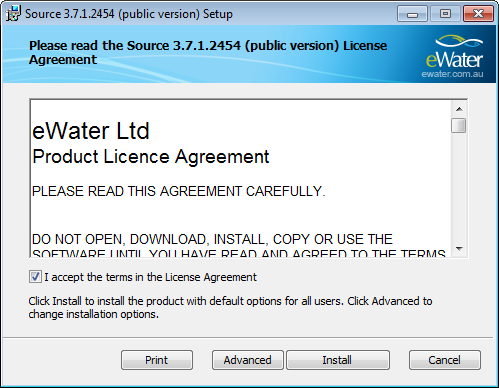
- Read and agree to the Product licence agreement

- Select the main download that is most appropriate for your machine and click on it. this will begin to download a .msi file
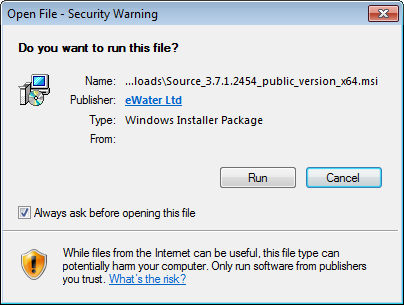
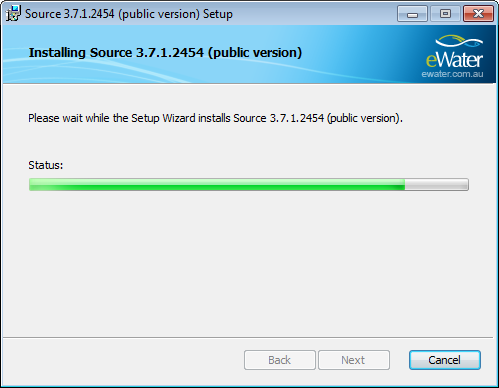
Double click the .msi file to begin the installer. You will be asked once again to agree to Product license agreement.
- You will be asked to provide your toolkit login at the start, and occasionally when Source starts up after that.
Launching Source
Source can be launched from your Windows start menu. The standard location is:
Start » All Programs » eWater Source n.n.n » Source
The folder containing Source also has shortcuts to various online documentation, including this user guide, and also the stand-alone version of Results Manager.
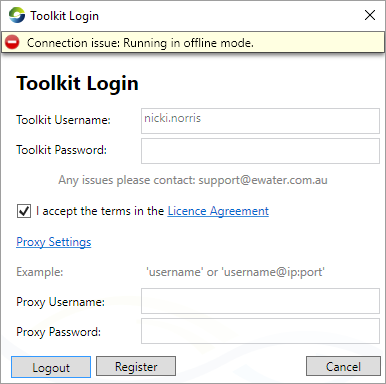
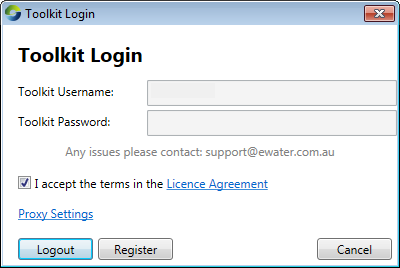
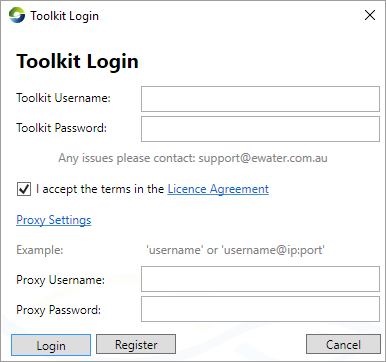
Toolkit login
When you open Source for the first time, you will be prompted to enter your Toolkit login credentials (as shown in Figure 1):
- Enable the I accept the terms in the Licence Agreement) checkbox. Refer to note below;
- If you have a Toolkit account, enter your credentials and click Login;
- If you do not have a Toolkit account, enter the credentials you wish to keep and click Register; or
- Click Cancel to exit from Source.
You must also enter proxy settings if your computer is located behind a proxy and you are unable to login. Contact your IT Department because Source may be being blocked by a local firewall. See Generating and using a by-pass code.
Figure 1. Toolkit Login
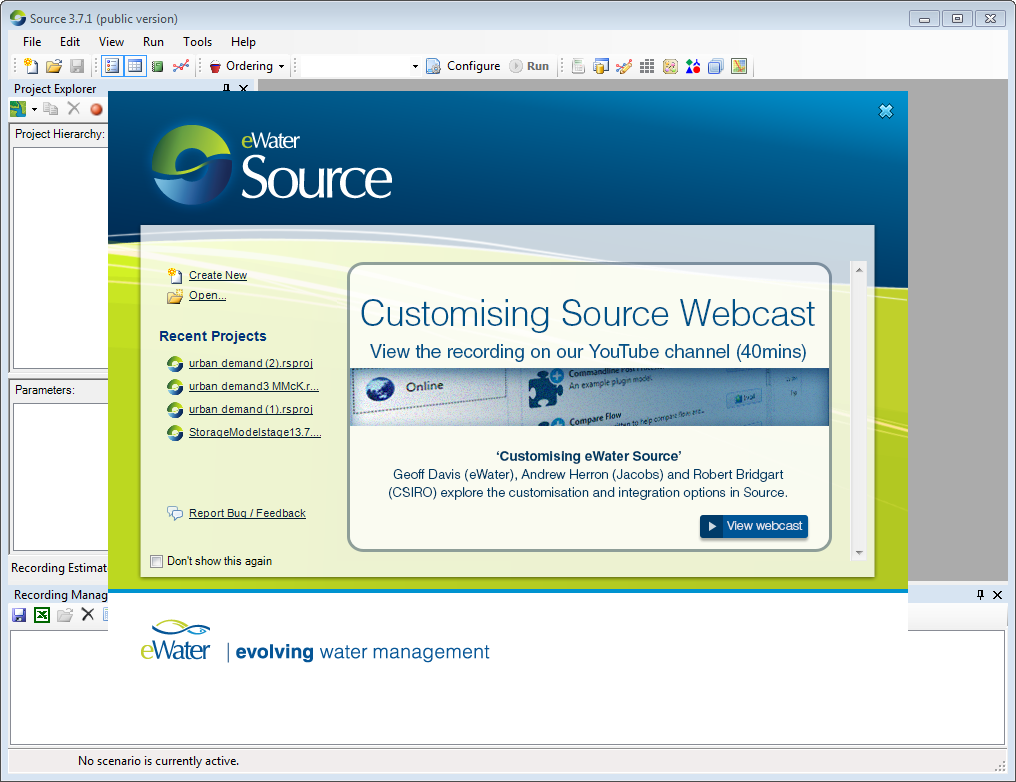
Source splash screen
Once logged in, the Source splash screen (Figure 2) appears, which provides shortcuts to various actions in Source, including:
- Creating new projects and scenarios. The commands found here are synonyms for File New » Project... and File New Scenario..., and New Scenario on the File toolbar;
- Opening recent projects. You can also find a list of recent projects at File [recent documents]
- Community news with related links; and
- Accessing troubleshooting and other useful materials using the Support / Feedback link. Note that you must have a working Internet connection for this to work.
To skip the splash screen altogether and go directly to the main screen next time Source is launched, disable the Don’t show this again checkbox at the bottom left of the screen. Display of this screen can be toggled using the same checkbox (choose Help » Splash Screen to access this splash screen).
Figure 2. Source splash screen

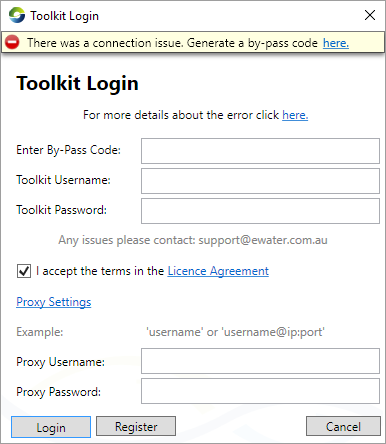
Generating and using a by-pass code
If you are unable to login to Toolkit because of firewall or application restrictions, generating a by-pass code allows you to work offline. In this case, the dialog shown in Figure 3 appears.
Figure 3. Toolkit Login, Connection error
If you wish to use Source on a computer with internet access, follow these steps to generate a bypass code:
Click the link in the error message at the top of the Toolkit Login dialog, this will open the Toolkit website in your default web browser.
- Log in using your Toolkit username or email address and password.
- A unique by-pass code will be displayed (Figure 4), copy this by-pass code (Select all and Ctrl+C) and paste it in the Enter By-Pass Code field (Figure 3).
- Click Login to start using Source.
If you wish to use Source on a computer that cannot access the internet, follow these steps to generate a by-pass code. Note that you still need access to the internet, but it can be a different computer.
On the computer with Source:
Open Source and login to Toolkit
Click the link in the error message at the top of the Toolkit Login dialog (Figure 4). This will open a browser with a link that is specific to the computer that you are using and your Toolkit username. The link will not work because you are not connected to the internet.
- Copy this link into a text file and save it so that you can transfer it to a computer with internet access (eg. to a USB drive).
- On a computer with internet access:
- Paste the link into a web browser, this will open the Toolkit website.
- Log in to Toolkit with your username and password
- A unique by-pass code will be displayed (Figure 3), copy this by-pass code (Select all and Ctrl+C) and paste it in to another text file. Save the text file so you can transfer it back to your computer with Source.
On the computer with Source:
- Copy the by-pass code from the text file (Select all and Ctrl+C) and paste it in the Enter By-Pass Code field (Figure 2).
- Click Login to start using Source.
Figure 4. Toolkit website, by-pass code
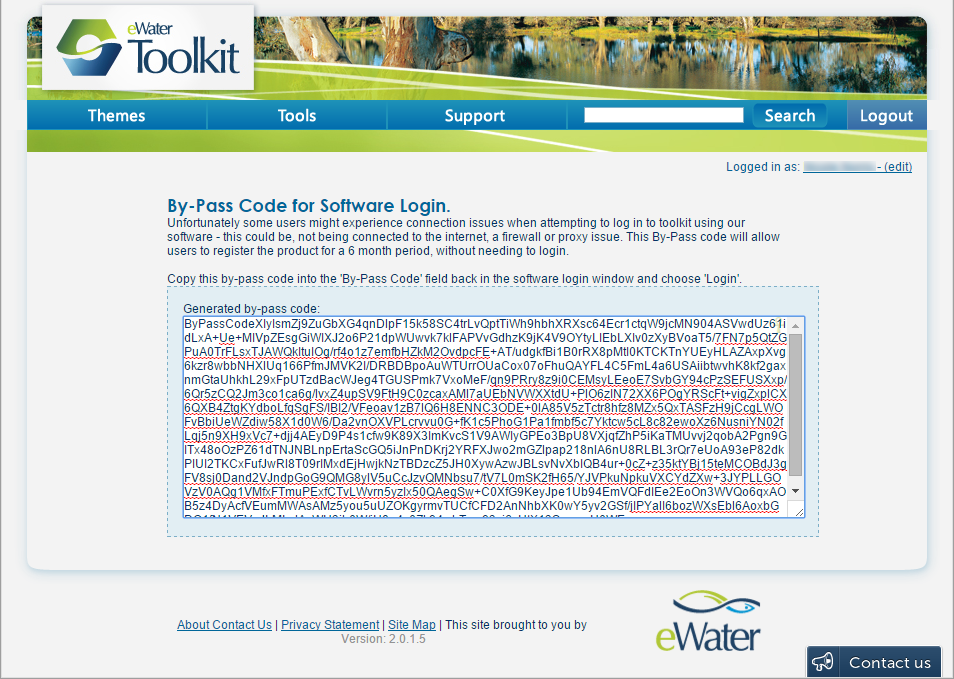
Figure 5. Toolkit Login, Offline